Step 3:
So far you have learned about the ActivInspire program, some of the tools available to you, and explored some different ways to use the program in your classroom. Now it's time for the fun part!
Part A:
Your task is as followed:
Create a flipchart to use with your students. Try to use at least 2 of the tools you explored earlier in this session when building your activity. Then USE IT in your classroom!
Create a flipchart to use with your students. Try to use at least 2 of the tools you explored earlier in this session when building your activity. Then USE IT in your classroom!
Part B: (optional)
This part is only necessary for you to view if you plan to share the flipchart you made with your students and are unsure of how to do that. There are two ways I have pushed flipcharts out to my students.
|
Option 1: Student Drive
Save the flipchart file in a folder on the Student Drive. Direct the students to find and open the file when you are ready to use it.
|
Option 2: Schoology
1. Save the flipchart in a folder on the Student Drive.
2. Log-in to Schoology, open the course you want to upload the flipchart to and click "Add Materials." 3. Click on "Add File/Link/External Tool." 4. Choose the flipchart file you saved on the Student Drive then click "Add." 5. Have students open up the course and open the flipchart file. The downloaded file will appear at the bottom of their screen. They will have to click on the file, and click open. 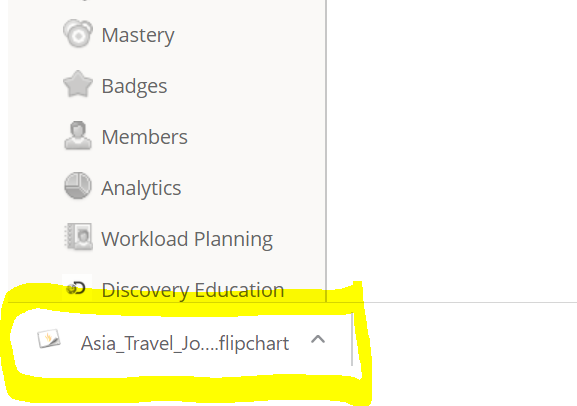
|
You're almost done! Go on to the final step once you have used the flipchart with your students!
